
SSL
SSL Certificates
All-in-One Website Security
Domains
Domains
ICANN Accredited Registrar
FIDO
TuringSign FIDO
Trusted Biometric Authentication
AI Security
AI Security
AI Based Risk & Threat Detection
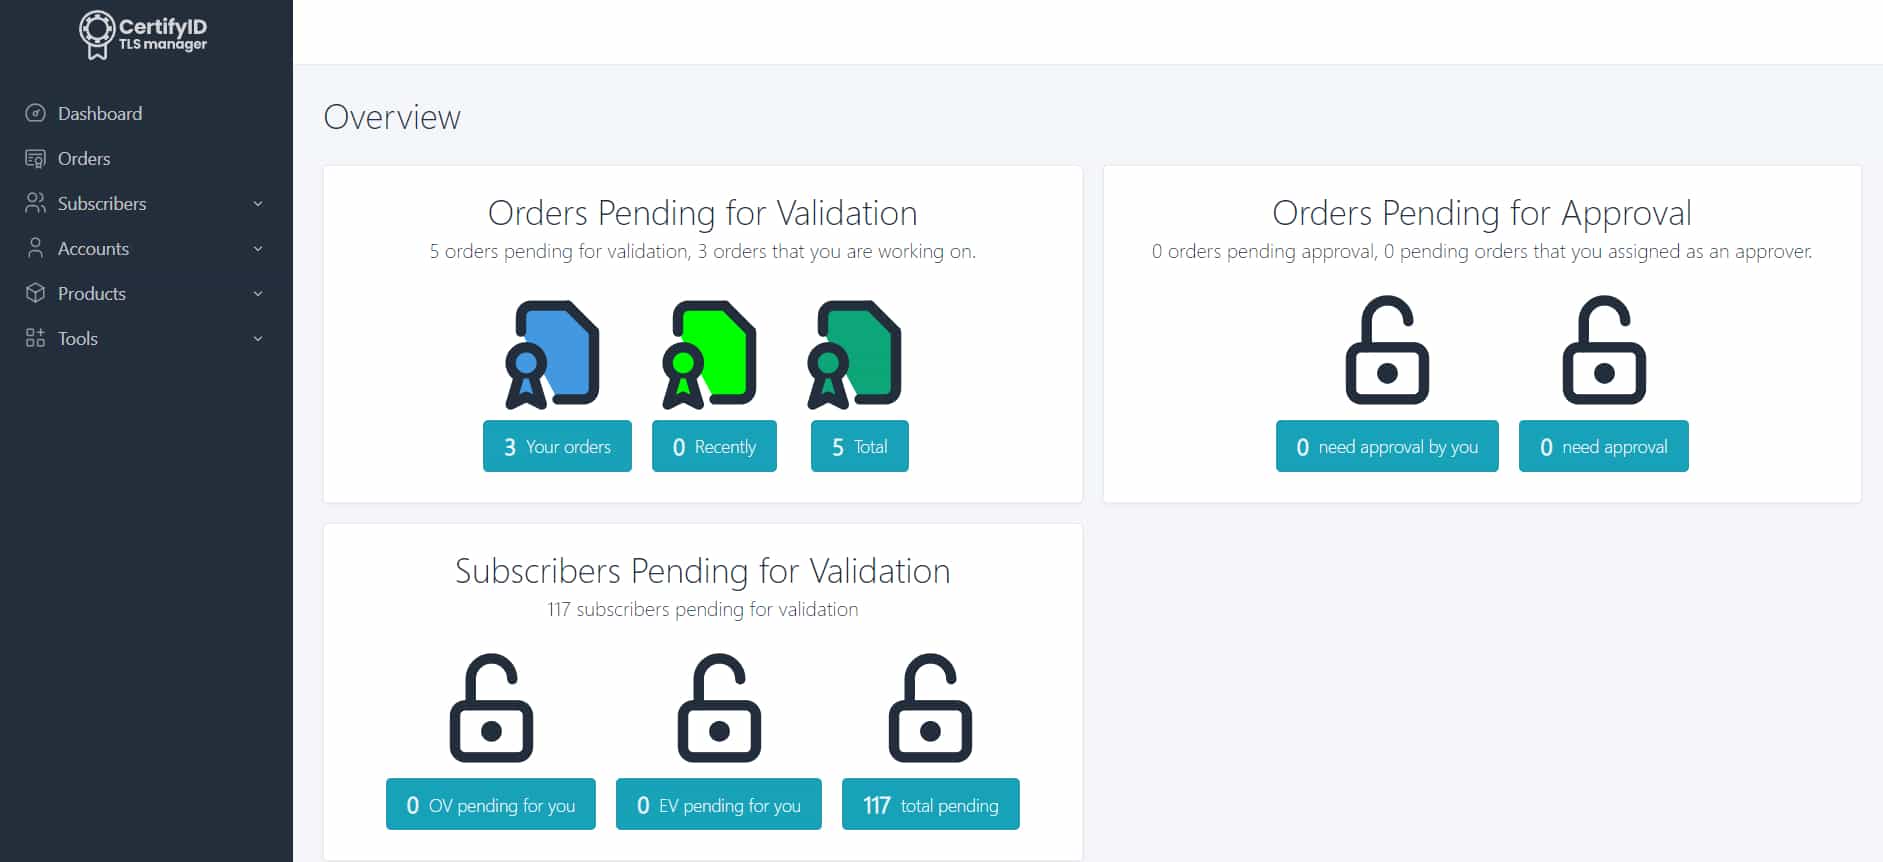
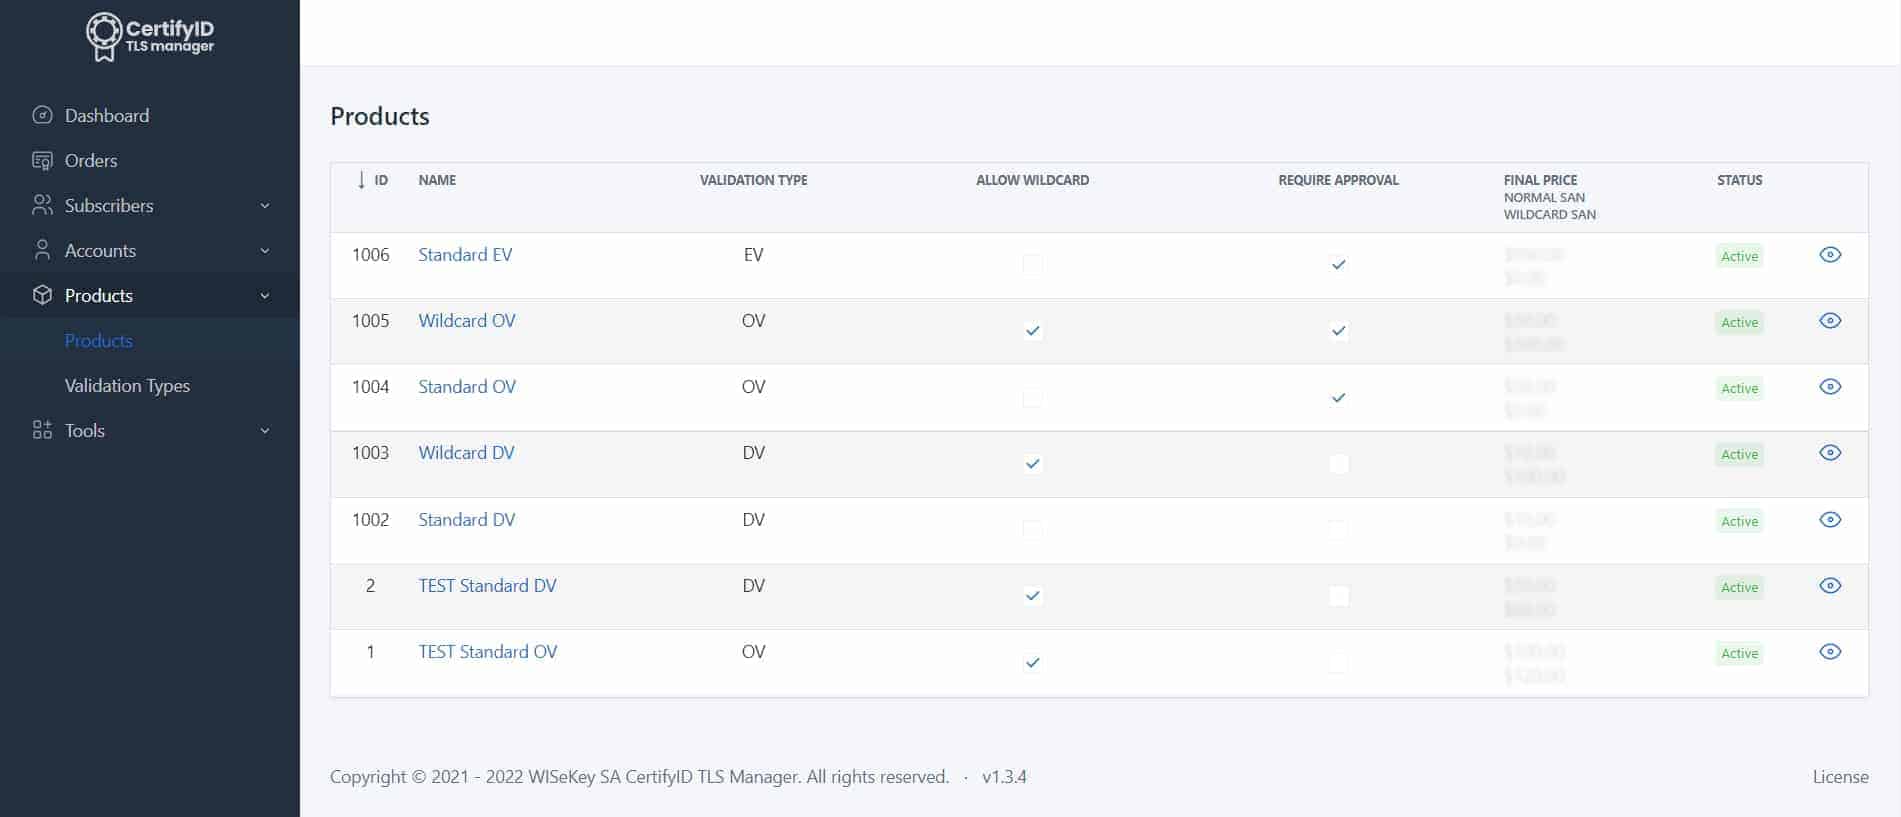
Easy and user-friendly way to manage your certificates
CertifyID TLS manager is the certificate management portal that helps you to monitor and keep track of all your certificates.
You can issue, install, monitor, remediate and renew all of your certificates in a single portal.
Recruiting partners who have a strong network and are committed to sell in their target countries.
Together, let’s help secure cybersecurity solutions, while achieving mutual growth and maximum profitability.
Over 20 years of successful SSL experiences with tops CAs such as VeriSign and Symantec since 2000.
Committed to your growth & success. We understand the needs of our partners & collaborate to grow together.
Gain access to all products, discounts, extensive marketing support, full-course trainings & networking sessions.
All-in-One Website Security
ICANN Accredited Registrar
Trusted Biometric Authentication
AI Based Risk & Threat Detection
Another way of verifying a domain is DNS (TXT record) Verification. If you selected DNS Authentication as your verification method, you will receive a unique TXT record via email consisting of two parts:
Verify by adding a TXT record in your DNS. Please verify and check if you have added the correct record
Please submit a requestfor support if you face any issues.
Depending on your DNS provider, You may have to wait for at least an hour for the changes to take effect in the DNS Servers. You will be notified via email when the domain is verified.
The third method of verifying a domain is HTTP File Upload Verification. After choosing File Authentication as your verification method, you will receive an email and be asked to download a unique verification file (Format: .txt) and upload it to a specific directory on your web server.
Verify by uploading the attached file fileauth.txt in your web server as follows:
You may have to wait for at least an hour for the changes to take effect in the validation services. You will be notified via email when the domain is verified.
Please submit a request for support if you face any issues.